How to decorate Easter eggs using stuff you already have in your kitchen
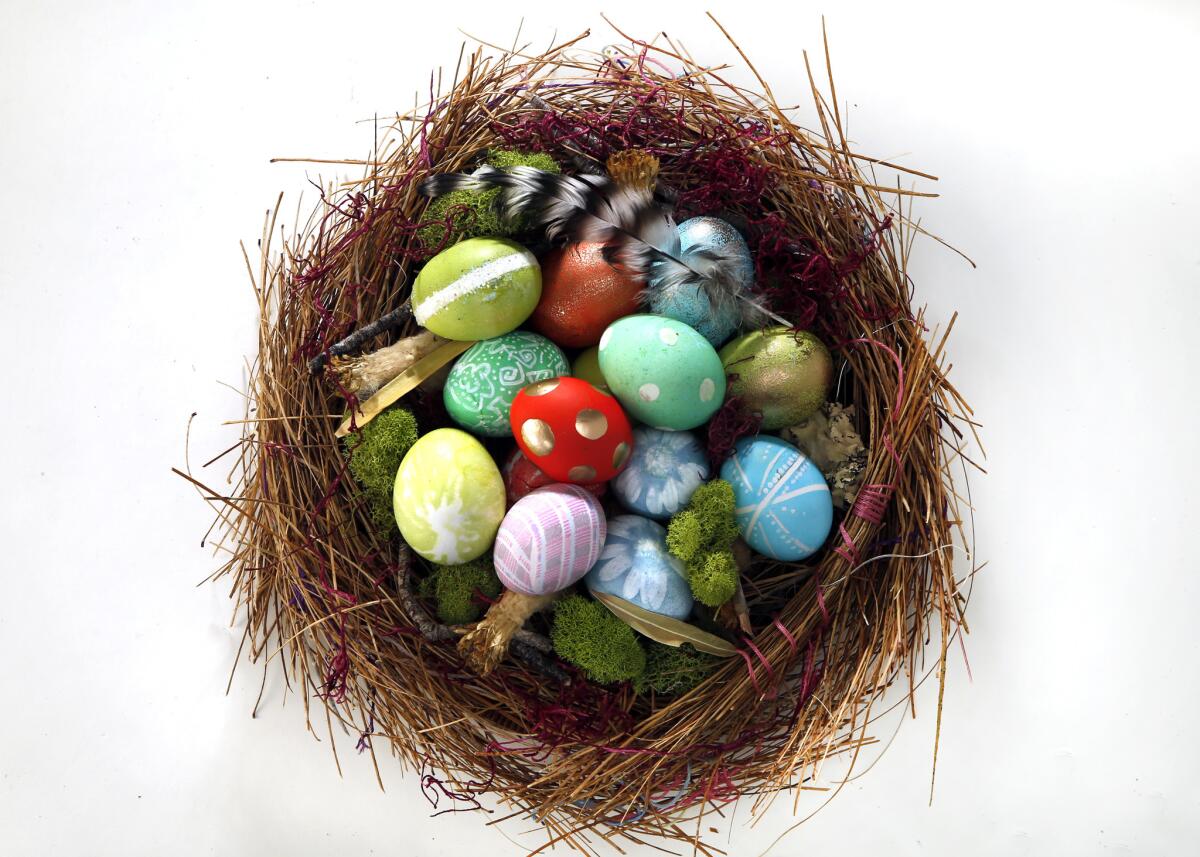
- Share via
Scrambling to get ready for Easter, and don’t think there’s time to hit the craft stores and dye eggs? Think again.
Awesome ingredients for dyeing and decorating eggstraordinary Easter eggs are as close as the kitchen cupboards, closets or desk drawer.
How to make perfect hard-boiled eggs, everytime
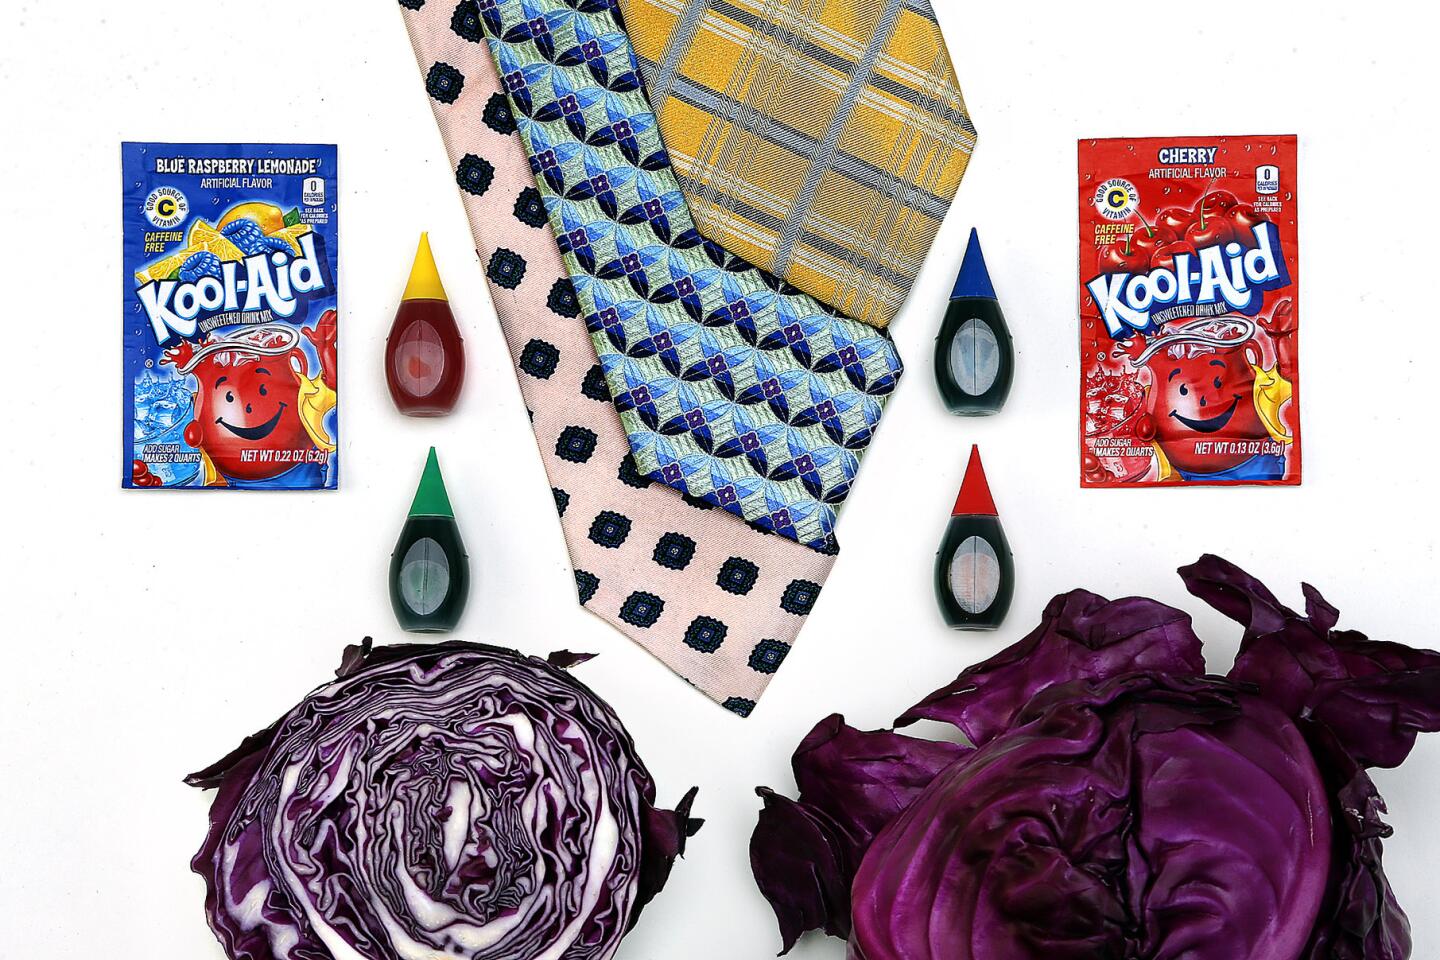
We experimented with four popular dye techniques using everyday “ingredients” — silk ties, red cabbage, Kool-Aid and that favorite standby, food coloring — that you probably already have at home. We found out that these crafty DIY dye methods — so popular on Instagram and Pinterest — were everything they were cracked up to be. (It probably goes without saying, but we’ll say it anyway: Spills happen, so take precautions. Line your counter with newspaper or old towels. Wear an apron or an old T-shirt in case there are splashes. And using glass containers for egg-dying is always a good bet unless, of course, you don’t mind stains.)
All tied up
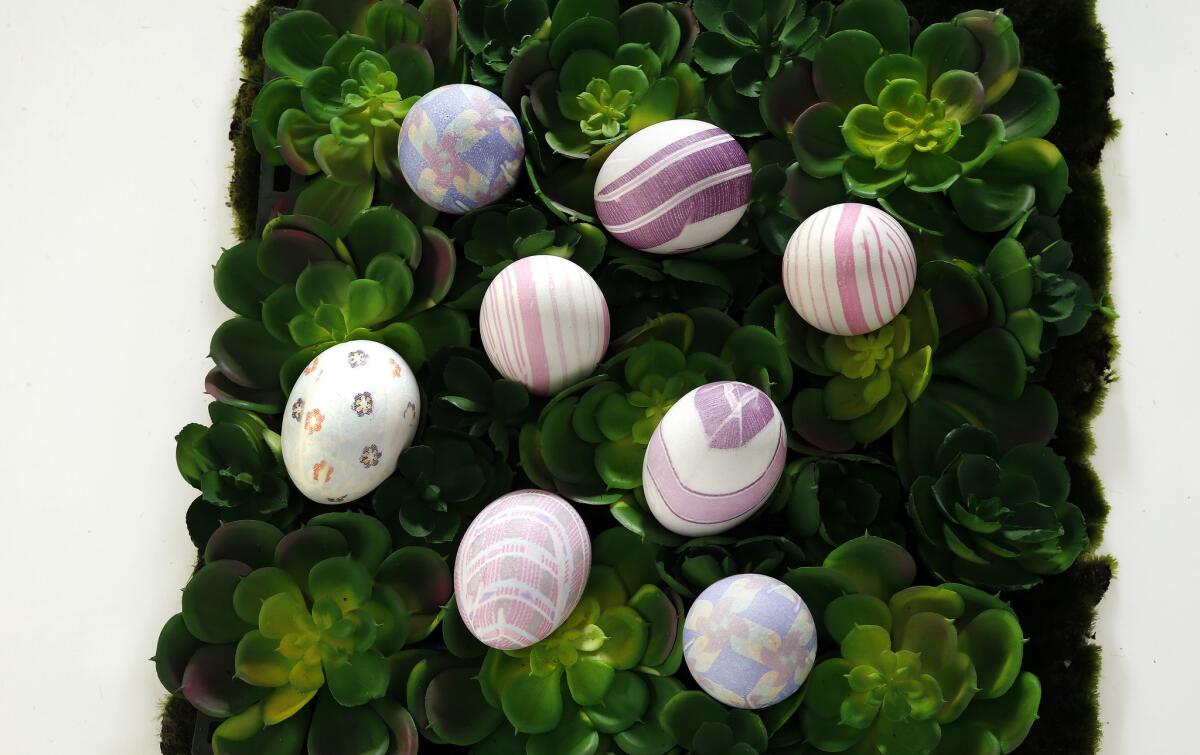
One of Martha Stewart’s most popular crafting posts of all time is about dyeing Easter eggs using old silk ties. We just had to try it. The way it works: Deconstruct a patterned, 100% silk tie (think: thrift-store find). Discard lining and inside batting, and cut silk into a large square. Wrap it snugly around a raw egg. Secure it with a rubber band. Next, wrap a large square of white cotton material (cut up an old white shirt or pillowcase) on top of the silk and fasten with rubber band. Place eggs in a non-reactive pot (such as stainless steel, glass or enamel), cover completely with water and add three tablespoons of white vinegar. Bring to a boil, then reduce heat and simmer for 20 minutes. Remove eggs from water and let cool. Finally, remove fabric from eggs to reveal pattern.
Pro tip: Darker colors produce bolder prints, and smooth silk (not textured) worked best for us. Prepare to be amazed.
Something blue
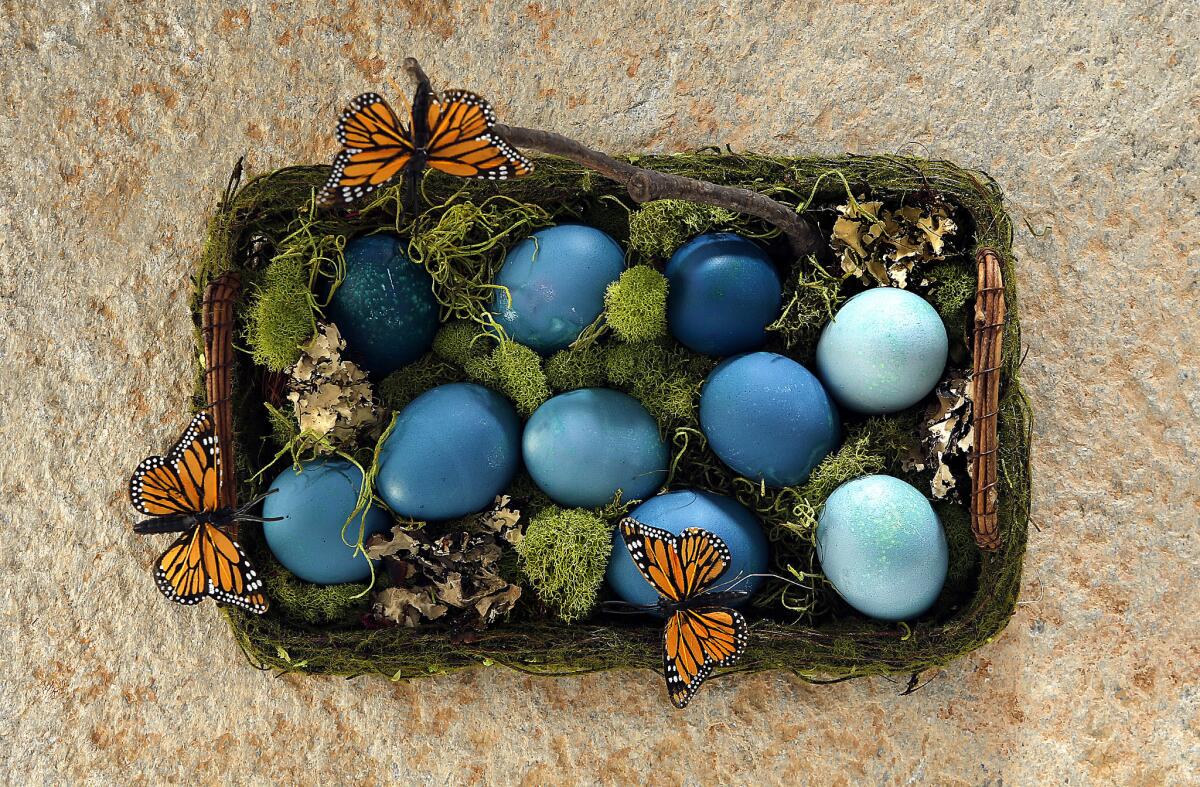
Who knew? Red cabbage makes beautiful blue eggs. Taking advice from the Kitchn blog, here’s the process: Mix six cups of water with six cups of chopped cabbage (a 1-to-1 ratio) in a saucepan, and bring to a boil. Reduce heat and allow contents to simmer for 15 to 30 minutes. Remove from heat. After contents have cooled to room temperature, strain out the cabbage. Stir in one tablespoon of vinegar for each cup of water used. Place hard-boiled eggs in a container and pour dye over them, making sure they are completely submerged. Place inside refrigerator until the desired color is reached.
Pro tip: Take eggs out of the dye at different intervals for a variety of shades: lighter eggs only needed 30-45 minutes, darker eggs were left in the dye for hours. The downside of the process: You might want to wait until the boiled-cabbage smell dissipates before having guests over. The Kitchn has lots more on natural dyes here.
So Kool
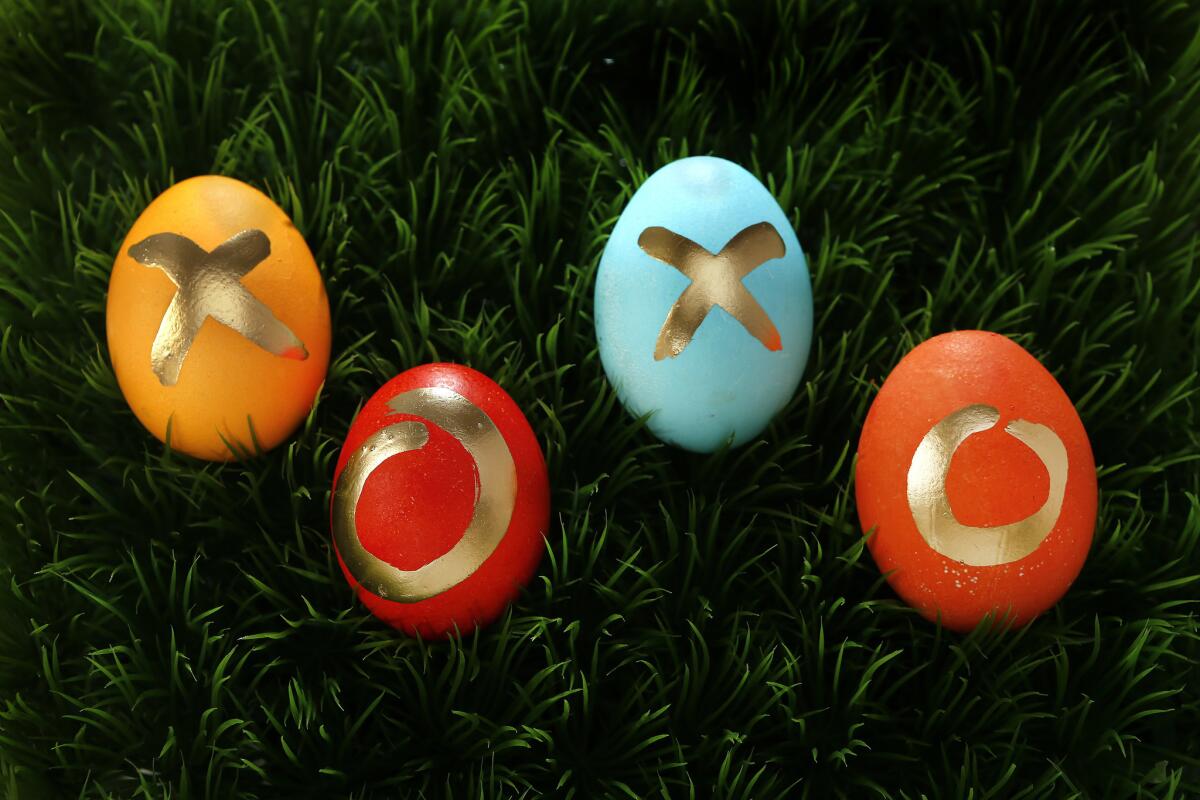
This kid-friendly dye method created vibrant eggs and makes our kitchen smell like fruit punch. We used one cup of hot tap water and two packets of Kool-Aid per color. We tested our hard-boiled eggs using orange, cherry, strawberry, blue raspberry lemonade, berry cherry and grape. (Our grape did not turn out as hoped, looking more black than purple.)
Pro tip: Using a Sharpie, we labeled the color of each flavor on a stemless wineglass to remember which dye was which (it washes off!). Stir well before dyeing, or else you’ll find undissolved granules sticking to the eggs. Credit for this fun technique goes to the Make your Own Zone blog.
It’s a tradition
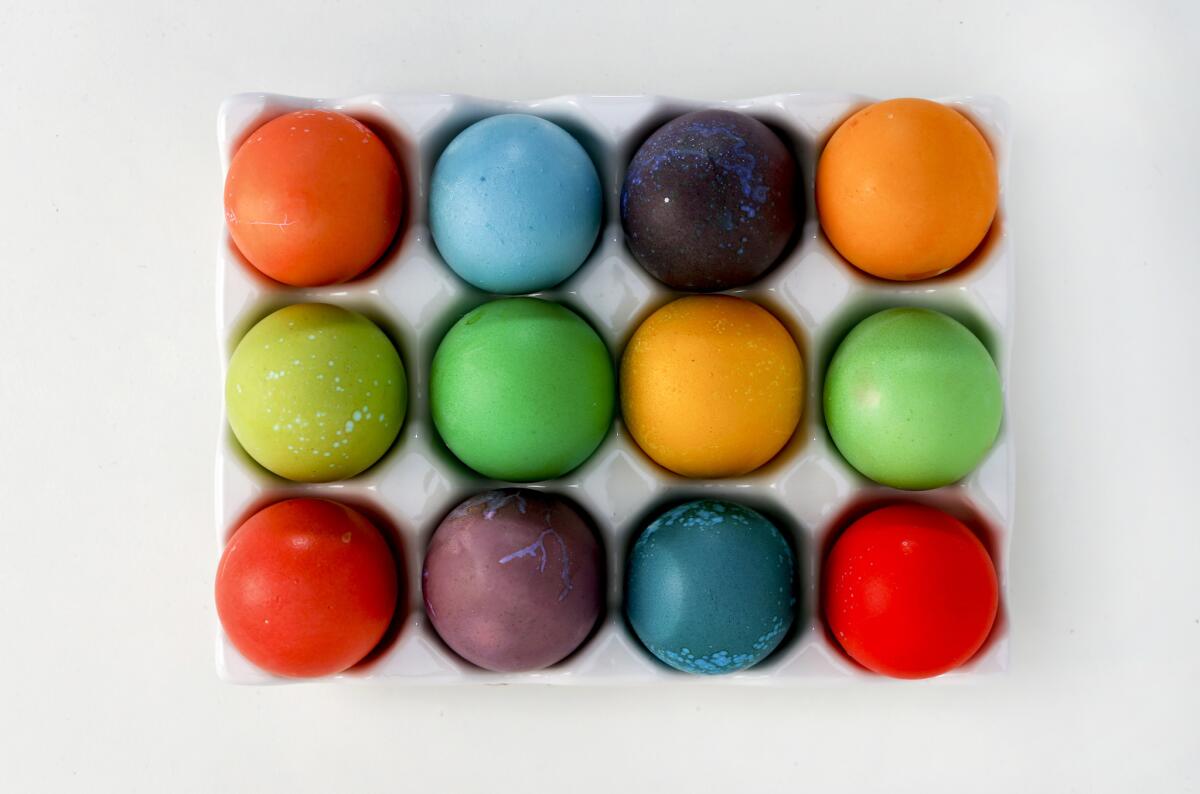
Directions for making egg dyes from liquid (not gel) food coloring are likely to be on the box, or at the manufacturer’s website. These typically call for boiling water, which means adult supervision is required until the dyes cool. But the process is easy, and mixing a wide palette of customized colors is... eggciting.
Pro tip: We used Mason jars to mix a double batch of dyes in order to fully submerge hard-boiled eggs. A slotted spoon made it easy to gently lower eggs into the jar, and then get them back out. To dry, we placed eggs on a wire cooling rack laid over a glass baking dish that served to catch any drips.
Eggstra credit
Decorating Easter eggs can be as simple or sophisticated as time and interest level allow. These ideas are designed to inspire, but may not produce safely edible eggs. So to be on the safe side, consider these techniques strictly for decorative purposes. Use hard-boiled eggs that have cooled to room temperature.
Sparkle
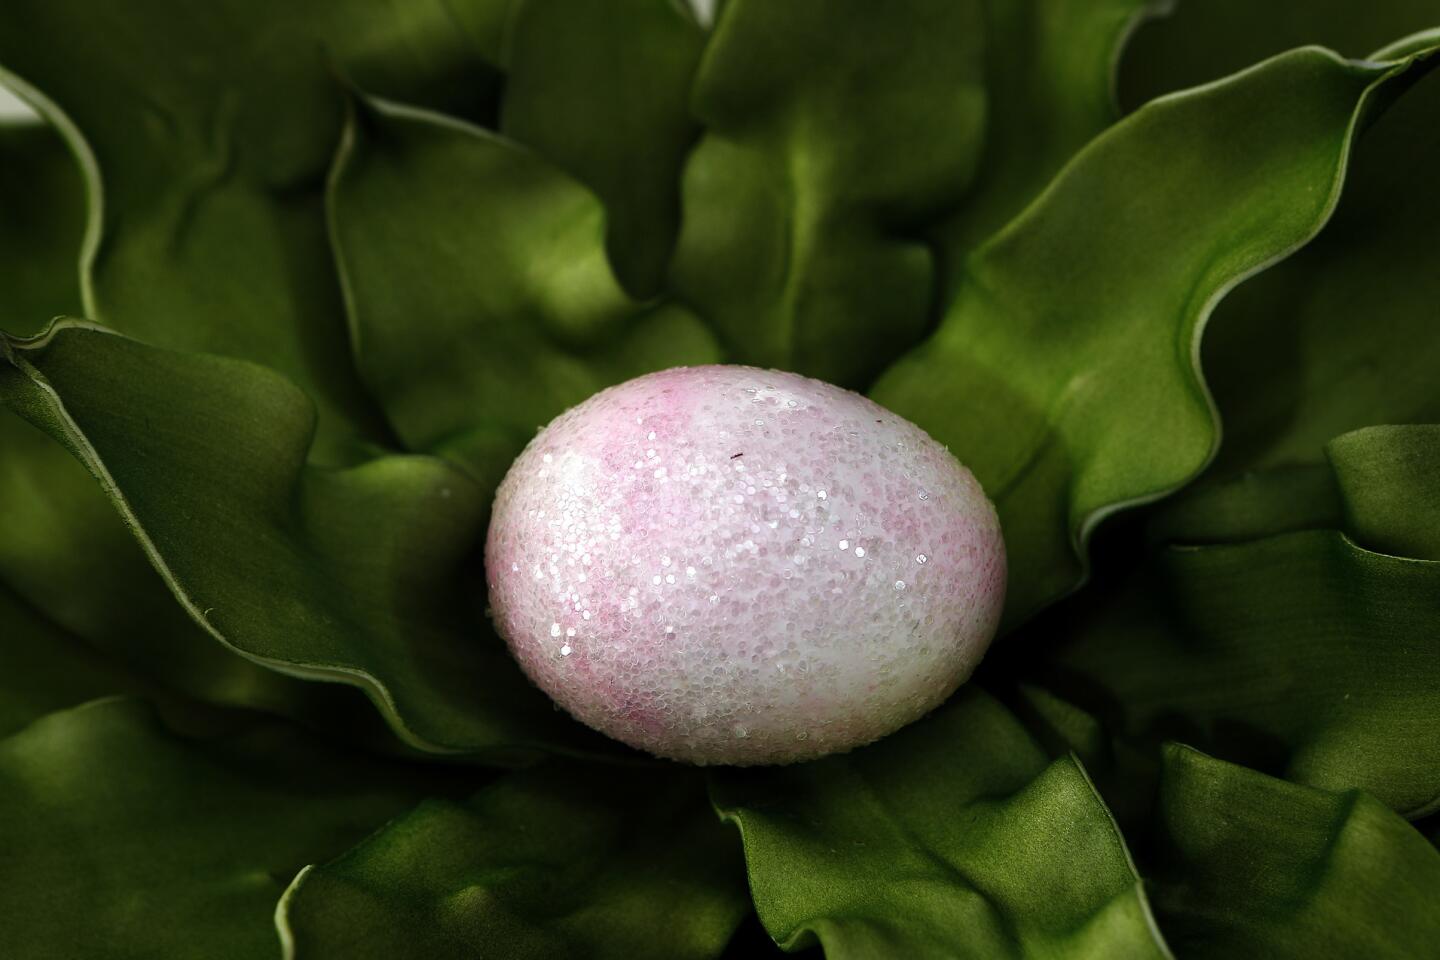
Paint a dyed egg with glue and dip and roll in glitter.
Easy, effective
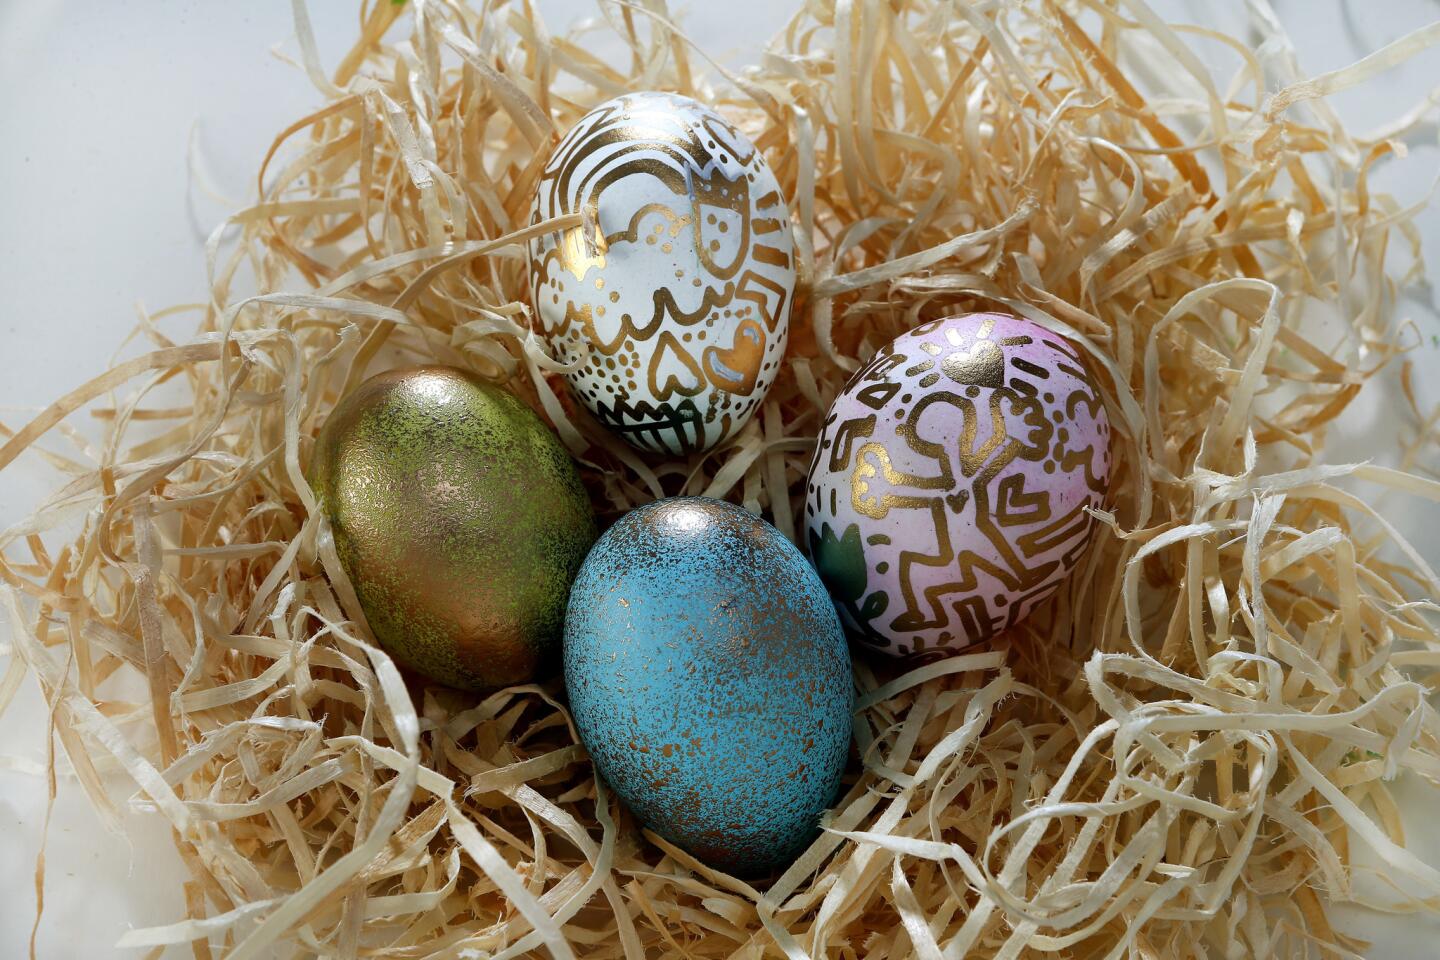
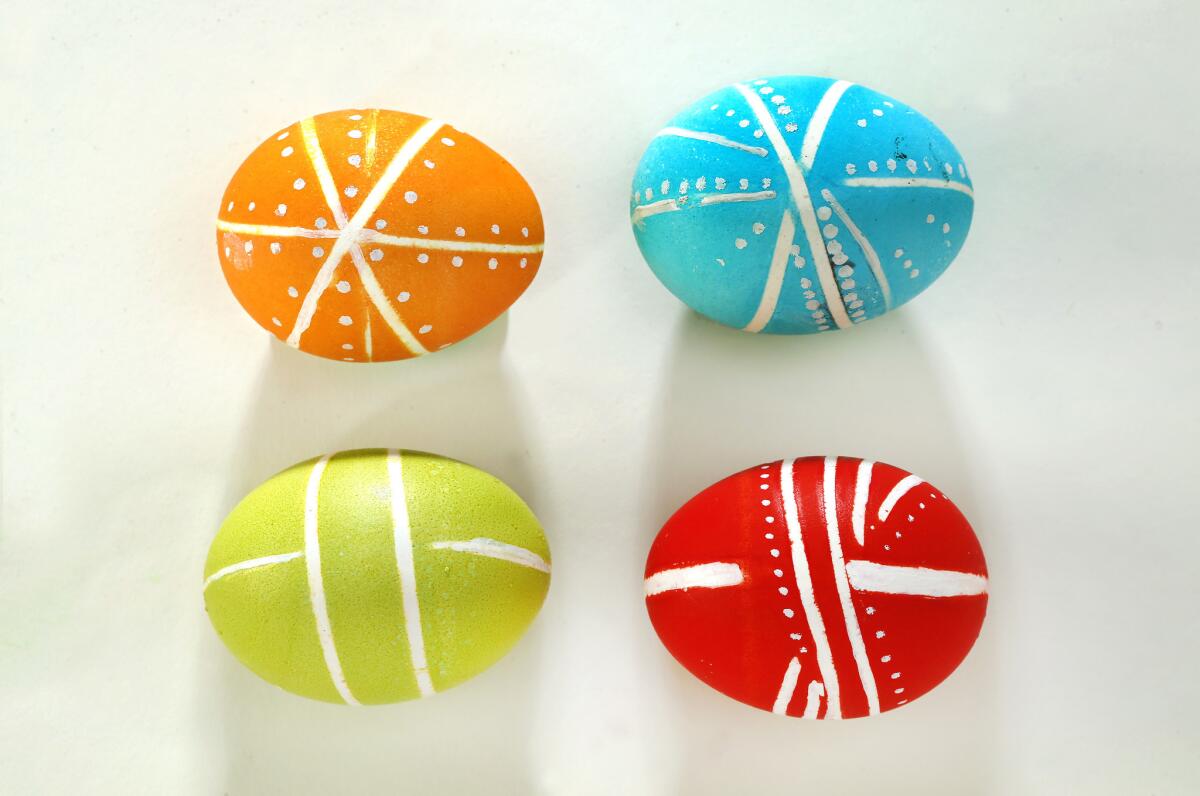
Grab a paint pen. Draw, write, create.
Color outside the lines
Before dyeing, wrap egg with thin, double-sided tape. From here, the possibilities are endless. After dyeing, roll in glitter. Or, dye egg first, let dry, and then go the tape-and-glitter route.
Get dotty
Stick glue dots on egg before dyeing. Roll in glitter after dry, or leave as is.
Sticky business
Place stickers on egg before dyeing. When dry, remove stickers to reveal shapes — or not.
Twisted
Wrap rubber bands around egg before dyeing. Once dry, remove rubber bands.
Crafty
Apply strips of washi tape onto a dry, dyed egg. Make patterns, stripes or mosaics.
No dye needed
Use a dry paintbrush dipped lightly in paint. Flick bristles to splatter paint onto eggs for speckled effect.
Heavy metal
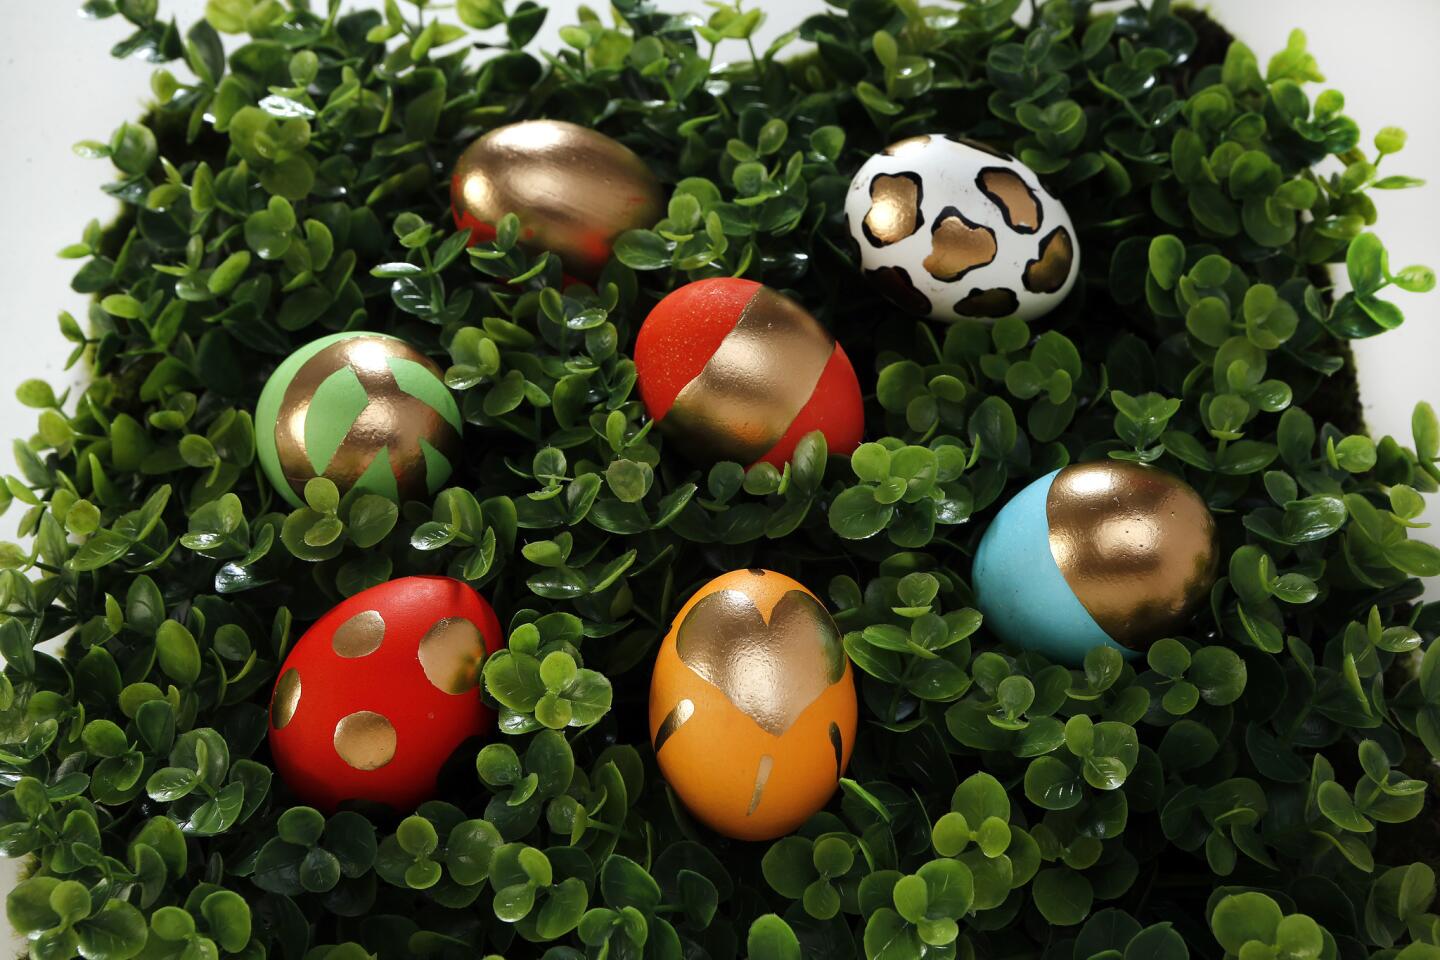
Paint onto dyed eggs using a soft brush, and let dry. Warning: addicting!
See through
Before dyeing, wrap and tie (or rubber-band) a piece of lace snugly around egg. Dye. Dry. Remove lace.
Flower power
Gather a few small flowers or leaves. Place flower on undyed egg and wrap a square of clean pantyhose over top. Secure with rubber band, and place in dye. Allow to dry, then remove hosiery and flower to reveal a decorative, organic design.
Bonnie McCarthy contributes to the Los Angeles Times as a home and lifestyle design writer. She enjoys scouting for directional trends and reporting on what’s new and next. Follow her on Twitter @ThsAmericanHome.
ALSO
You’ve never seen a kitchen island sink like this
Is it time for America to embrace smart toilets and bidets?
You’ve never seen a fire extinguisher that looks like this


