Shortbread Bars with Dark Caramel and Chocolate
- Share via
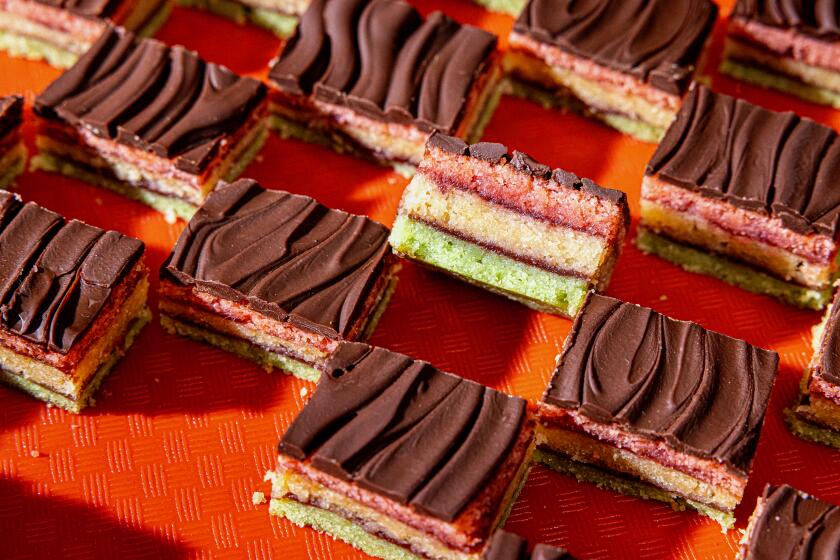
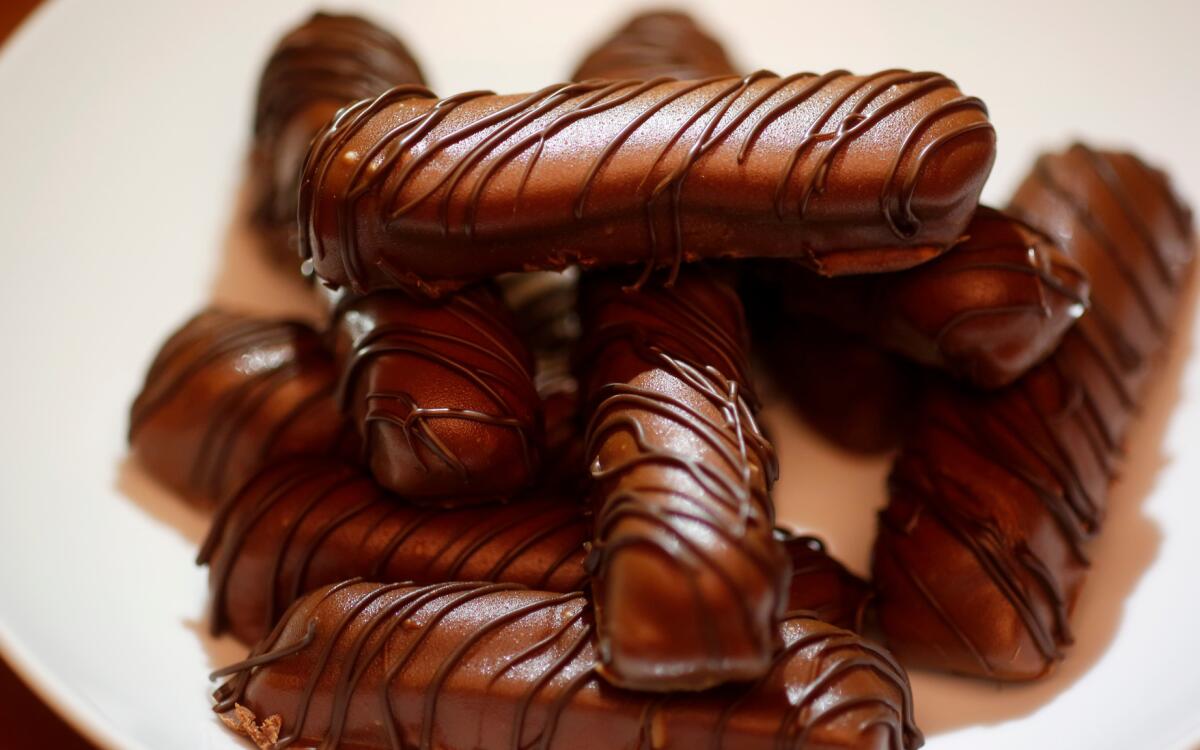
These homemade candy bars are fashioned after the Twix bar, which is similar to the classic “millionaire’s shortbread” dessert, a layer of shortbread topped with caramel and rich chocolate. Top buttery shortbread bars with a thick layer of caramel — simmer the caramel until it is a dark amber with a nutty smell for richer flavor and chill until it has the consistency of thick toothpaste — then pipe a strip of caramel on top of each bar before freezing and coating with chocolate.
Your homemade candy bars will easily last two to three weeks refrigerated, and longer if frozen.
From the story: Want to make your own Halloween candy? Here are four candy recipes
Shortbread
In the bowl of a stand mixer fitted with the paddle attachment, or in a bowl using a hand mixer, beat the butter and sugar until creamy. Add the flour and beat into the butter mixture just until fully incorporated.
Divide the dough into thirds and shape each third into a 10-inch by 3-inch rectangle on a lightly floured board. Score the rectangle crosswise to make 20 (1/2-inch) bars. Repeat with the remaining rectangles and place onto parchment-lined baking sheets (you may be able to fit 2 rectangles on one sheet, but do not space too closely together as the shortbread will spread a little as it bakes). Chill the dough for 30 minutes. Meanwhile, heat the oven to 350 degrees.
Remove a tray and bake until the shortbread feels firm to the touch and the edges are just beginning to color, about 20 minutes. Remove the sheet to a rack and cut each bar along the scored lines. Set aside to cool. Repeat until all of the shortbread is baked and cooled. Separate the bars and place onto a parchment-lined baking sheet. Cover and refrigerate until ready to coat with the caramel.
Caramel
In a large saucepan, combine the sugar, water and corn syrup, stirring until the sugar has the consistency of wet sand. Place the saucepan over high heat and cook until the sugar dissolves and begins to boil. Do not stir the sugar, as this may cause it to seize.
While the sugar is cooking, combine the cream and butter in a saucepan over medium heat. Keep an eye on the sugar while you’re heating the cream to keep it from scorching. Cook until the butter melts, stirring it into the cream. When the mixture has come to a simmer, remove from heat.
Continue to cook the sugar until it darkens to a rich caramel color, 7 to 10 minutes — the sugar will darken quickly and noticeably and will smell faintly nutty. Swirl the pan as the sugar darkens to judge the true color of the caramel (the sugar may darken in patches if there are hot spots on the stove). Watch carefully, as the sugar can easily overcook at this point and burn.
As soon as the color is darkened to a rich caramel, remove the pan from the heat and quickly add the cream mixture in a slow, steady stream. The sugar will bubble and steam as the cream is added; be careful as both the mixture and steam are very hot. Carefully stir in the vanilla, then continue to stir until the mixture stops bubbling.
Remove from heat and set aside until cooled to room temperature. This makes about 1 ½ cups caramel. Place the caramel in a large, sturdy cloth piping bag (a plastic bag will tear) fitted with a 1/4-inch round tip. Twist the end of the bag to seal and place the bag, tip-side up, in a container so the caramel does not leak out.
Refrigerate until the caramel is thickened and has the consistency of thick toothpaste, 1 to 2 hours and up to overnight.
Twix bars
Remove the bars and caramel from the refrigerator. Pipe a thick strip of caramel on top of each bar, pressing the tip of the bag gently against the edge of the cookie to stop the caramel flow.
Place the prepared bars, uncovered on a rimmed baking sheet, in the freezer until the caramel is completely hardened, preferably overnight.
Melt the chocolate chips in a large microwave-safe bowl, stirring every 20 to 30 seconds until evenly melted. If the melted chips feel a little too thick, stir in a little coconut oil to thin the melted chocolate.
Remove just a few bars at a time (keep the rest of the bars frozen), and dip them, one at a time, in the melted chocolate. Tap the candy a few times to remove excess chocolate and place on a parchment- or wax paper-lined baking sheet. Repeat, removing a few frozen bars and coating with chocolate, until all of the bars are coated. Refrigerate the trays, uncovered, until the chocolate is hardened before serving.
Get our Cooking newsletter.
Your roundup of inspiring recipes and kitchen tricks.
You may occasionally receive promotional content from the Los Angeles Times.


