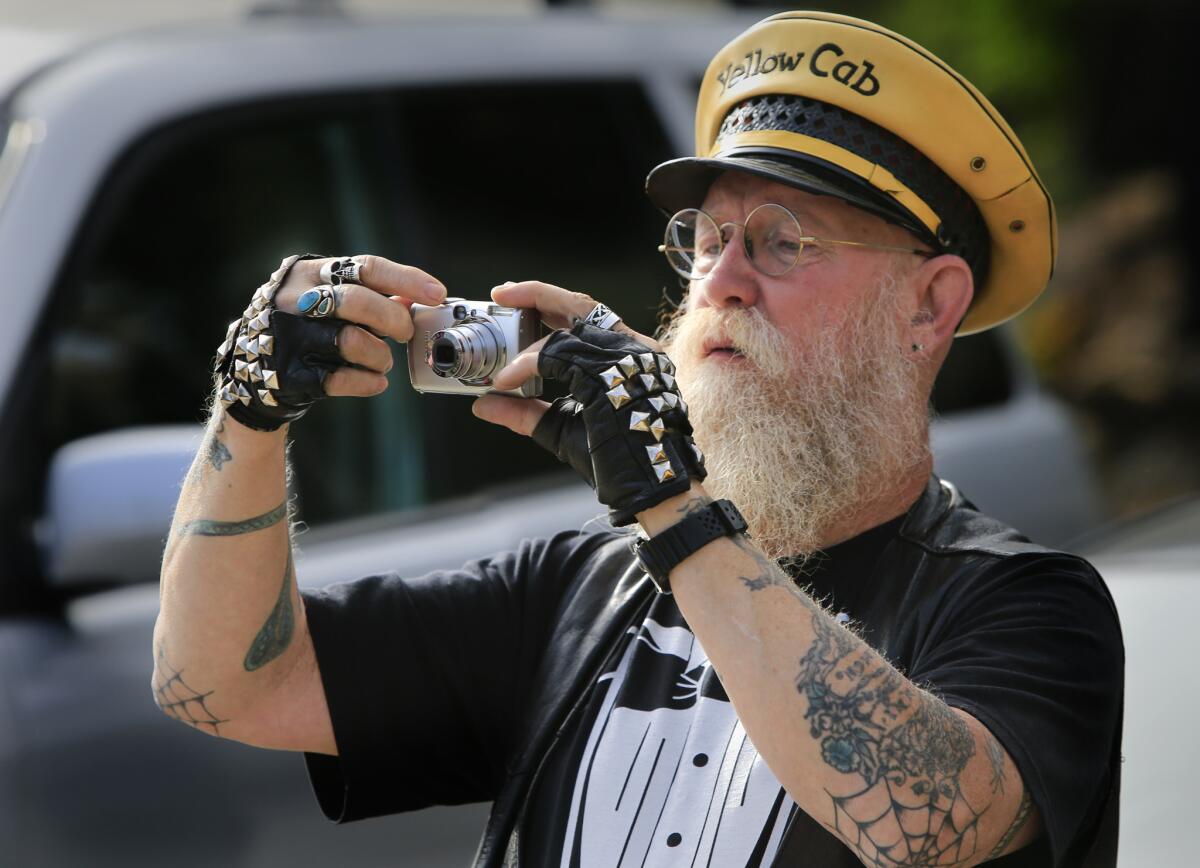
L.A. Times Travel Show: 14 photo tips to remember for 2014

- Share via
You’ve come home from your trip and you’re looking through your photos, but they’re not as dynamic as the destination you’re remembering. Our photo experts and editors gathered a list of 14 tips for making those memories as good as those in your mind’s eye.
You can pick up more tips Saturday and Sunday at the L.A. Times Travel Show from photographer Mark Boster and writer Chris Reynolds, also an accomplished photographer. They’ll be speaking at 1 p.m. both days on the L.A. Times Stage.
Herewith, from members of The Times’ Travel staff, some photo tips:
1. Use a camera. That may sound like a no-duh, but as much as we love our camera phones, using a camera gives you some technical advantages — especially if it allows you to adjust for light, subject and other factors — and also encourages mindful picture-taking, not just quick snaps (not that there’s anything wrong with those either).
2. Move — yourself and your subject. Varying the angle from which photos are shot — bend at the knees, for example — lends variety to the pictures. Move your subject if there’s something distracting in your picture — a light pole that appears to be growing out of his head, for instance.
3. Wake up early or stay up later. Morning light is usually gentle and allows you to paint your pictures with early-morning sun. Conversely, the light just before sunset — and depending on the time of year, that could be 5 p.m. (we know you stay up later than that) or 10 p.m. in some areas of the country during Daylight Saving. The softer, warmer light flatters your subjects, human or otherwise.
4. Use a tripod. You don’t have to spend $200 on a tripod unless you’re a serious photographer. Buy a little Gorillapod that allows you to shoot sharp pictures with a minimum of fuss. You can brace against a vertical wall for support as well.
5. Shoot informational signs. What could be duller than shooting a sign that says “West Emma Creek, Kansas”? A photo that has no information with it. Photographing a sign before your shot tells you where you were and allows you to differentiate it from your next shot (which could be the Middle Emma Creek).
6. Don’t forget details. If you’re going to an outdoor market, shoot overall pictures of the activity but get close-ups of, say, the grains and spices, which add variety to photos and, of course, to life.
7. Shoot with the sun at your back. If you shoot into the sun, chances are you’ll end up with a silhouette, which is great if that’s what you want. Your camera will read that light and not the light on the subject. Best way to avoid that is to move your subject, if that’s possible. Also don’t shoot at noon (see tip three); the light will be harsh.
8. Re-read the manual that came with your camera. Learning or relearning the settings on your camera as you’re executing probably isn’t optimal. Think of this as a mini-refresher course. You might also pack your manual or download it from your camera’s website to peruse while you’re getting where you’re going. It is good information and it passes the time productively.
9. Pack some extra gear. Take extra batteries (if your camera uses those). If your camera uses a battery charger, make sure you have it and the right cord for it. If you want to use your camera a lot, take an extra battery, charge it during the day you’re out sightseeing and then swap out the one you’ve just used. That way you don’t enter the battery dead zone. Also pack an extra SD card or two, just to make sure you have enough.
10. Know what your camera flash can do — besides ruin a picture if it’s set wrong. Experiment with your flash to make sure you don’t “blow out” your subject (too much flash). If you have a detachable flash, experiment with bouncing the light off the ceiling or a wall for softer illumination. The ceiling or wall must be fairly close (6 to 12 feet) and must be white or nearly so for this to work.
11. Unless your camera has a macro setting, don’t get too close to food you’re photographing. It will be out of focus and will look like a hot mess. Be especially aware of composition; badly composed food shots can be very unappetizing.
12. Shoot a lot. That’s one of the perks of digital and why carrying extra SD cards is so important. Various exposures and slight framing adjustments can make a world of difference. You can delete your mistakes, of course, and make yourself look like a genius.
13. If you’re not sure what to shoot, visit a drugstore or newsstand and check out the postcards. You’ll see destinations, of course, but you’ll also see possible angles from which to shoot your photo. After all, they don’t use ugly pictures on postcards.
14. Remember these three elements: lighting, composition and moments. The correct combination of those three elements will give you a lasting memory that you can show your friends and say, with understated cool, “Yes, I did shoot that.”
Follow the L.A. Times Travel Show on Saturday and Sunday at #travelshow.
Photo tips from photo editors Richard Derk and Kathy Pyon; from travel editors Anne Harnagel and Catharine Hamm; from Web producer Jason La; and from designer Jan Molen.
More to Read
Sign up for The Wild
We’ll help you find the best places to hike, bike and run, as well as the perfect silent spots for meditation and yoga.
You may occasionally receive promotional content from the Los Angeles Times.


